Install Guide
Our luxury car mats are customized to fit each specific vehicle make and model. The installation is easy and will take only 5 ~ 10 minutes. Start by removing your old mats and put the new mats in their place. The clips on the side should be slid under the trimming of your vehicle to ensure that the sides stay in place to protect all carpeted areas. The undersides are made of anti-slip material making it stick to the vehicle existing carpet making it firm and secure.
Step by Step
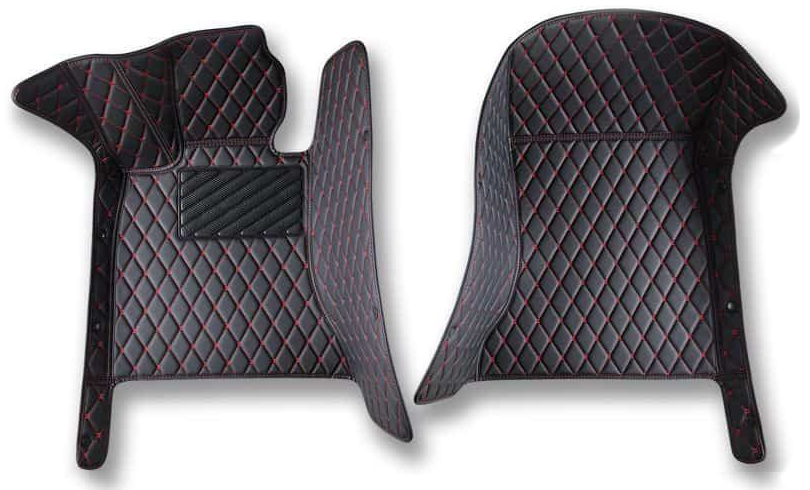
Front Mats
• Remove the old floor mats from the vehicle before laying down your custom-made mats.
• We advise you to begin installation from the driver’s side of the vehicle.
• You can identify the appropriate mat for the driver’s side by examining the heel grip.
• Next, adjust the driver’s seat all the way back and slide the mat into place.
• Then slide the built-in clips along the sides to fully secure the mats in place.
• Repeat the same steps with the passenger side mat.
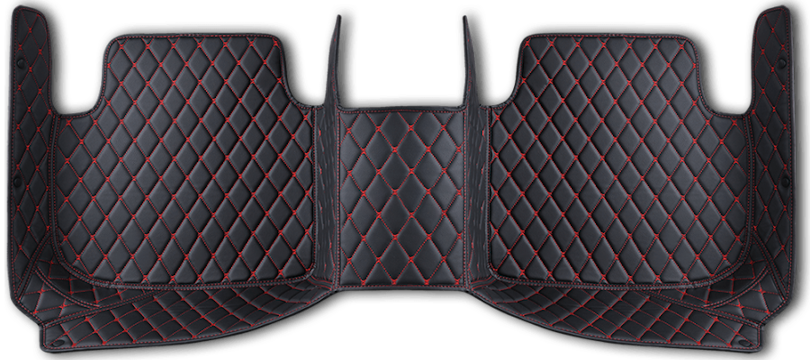
Rear Mats
• Adjust the drivers and passenger seat all the way forward to install the back-row mats.
• Place the mats across the floor, and they should slide right in.
• Some mats have an extra flaps that will need to be tucked in on the rear seats. Simply lift up the rear seat and tuck the mats to keep the mats in place.
• Lastly, add the built-in clips wherever they’re needed to fully secure the mats in place. Every set of mat comes with a collection of built-in clips. However, it’s not essential to use them all.
• Now the installation of your new custom-made car mats is complete.